BREW GUIDE / Espresso drinks
Cappuccino
Make a more pronounced yet supple foam layer than a latte without piling dry foam onto thin milk.
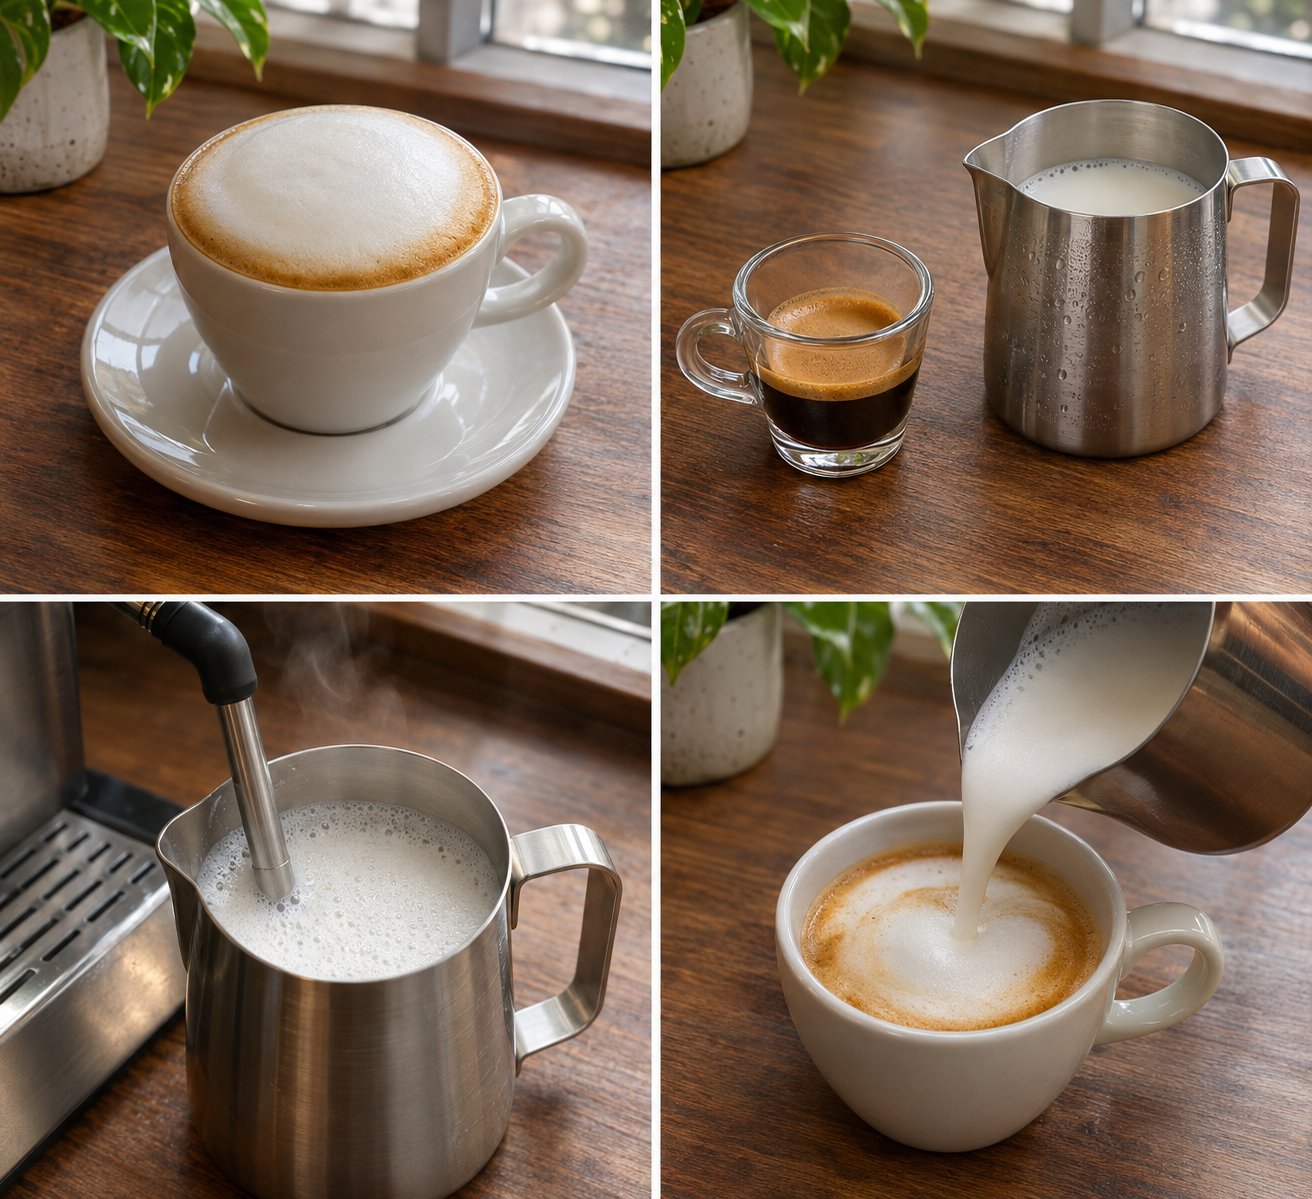
Equipment and measurements
Espresso machine and steam wand, suitable pitcher, thermometer, scale and roughly 180 ml cup.
Amounts marked as brewed espresso describe beverage weight, not dry grounds. Keep water, milk, ice and other additions as separate measurements; final volume varies with the method.
How to make it
- Prepare about 30 g espresso and weigh 100 g cold milk. If the machine requires a larger minimum milk amount, use its recommended volume and pour only what this cup needs.
- Purge the wand according to instructions, then introduce air near the surface. Aim for more foam development than the latte while watching that bubbles remain fine.
- Move the tip slightly deeper and maintain circulation. Start around a 55–60°C target, stop steam before lifting the pitcher and clean the wand as instructed.
- Swirl so milk and foam move together, then pour into espresso. Leave a soft upper layer rather than emptying thin milk first and spooning a dry foam block on top.
What to adjust first
Dry, stiff foam: review excessive aeration and integration. A watery drink: check cup size and milk dose rather than adding more foam. Large unstable bubbles: stabilize steaming technique.
More foam does not require hotter milk
The change from latte to cappuccino here is air introduction and foam integration, not a longer heating session. Stop at the chosen temperature rather than repeatedly reheating the same pitcher to chase volume.
Try this comparison next time
Keep cold milk amount and stopping temperature fixed while changing only the early aeration interval. Compare whether the milk still pours continuously and the surface remains soft.
What to write down
Note cup capacity, cold milk amount, aeration interval and stopping temperature. Use the same milk when comparing with a latte so ingredient differences do not obscure technique.
Keep learning
Espresso: a starting recipe · Hot latte
Your notes for this cup
Record settings, flavour and one change for next time. Notes stay in this browser; they are not uploaded or synced. Clearing site data removes them.