BREW GUIDE / Espresso drinks
Hot latte
Build a smooth milk-and-espresso drink with a thin layer of fine foam before worrying about latte art.
Equipment and measurements
Espresso machine with steam wand, suitable basket, milk pitcher, thermometer, scale and roughly 250 ml cup.
Amounts marked as brewed espresso describe beverage weight, not dry grounds. Keep water, milk, ice and other additions as separate measurements; final volume varies with the method.
How to make it
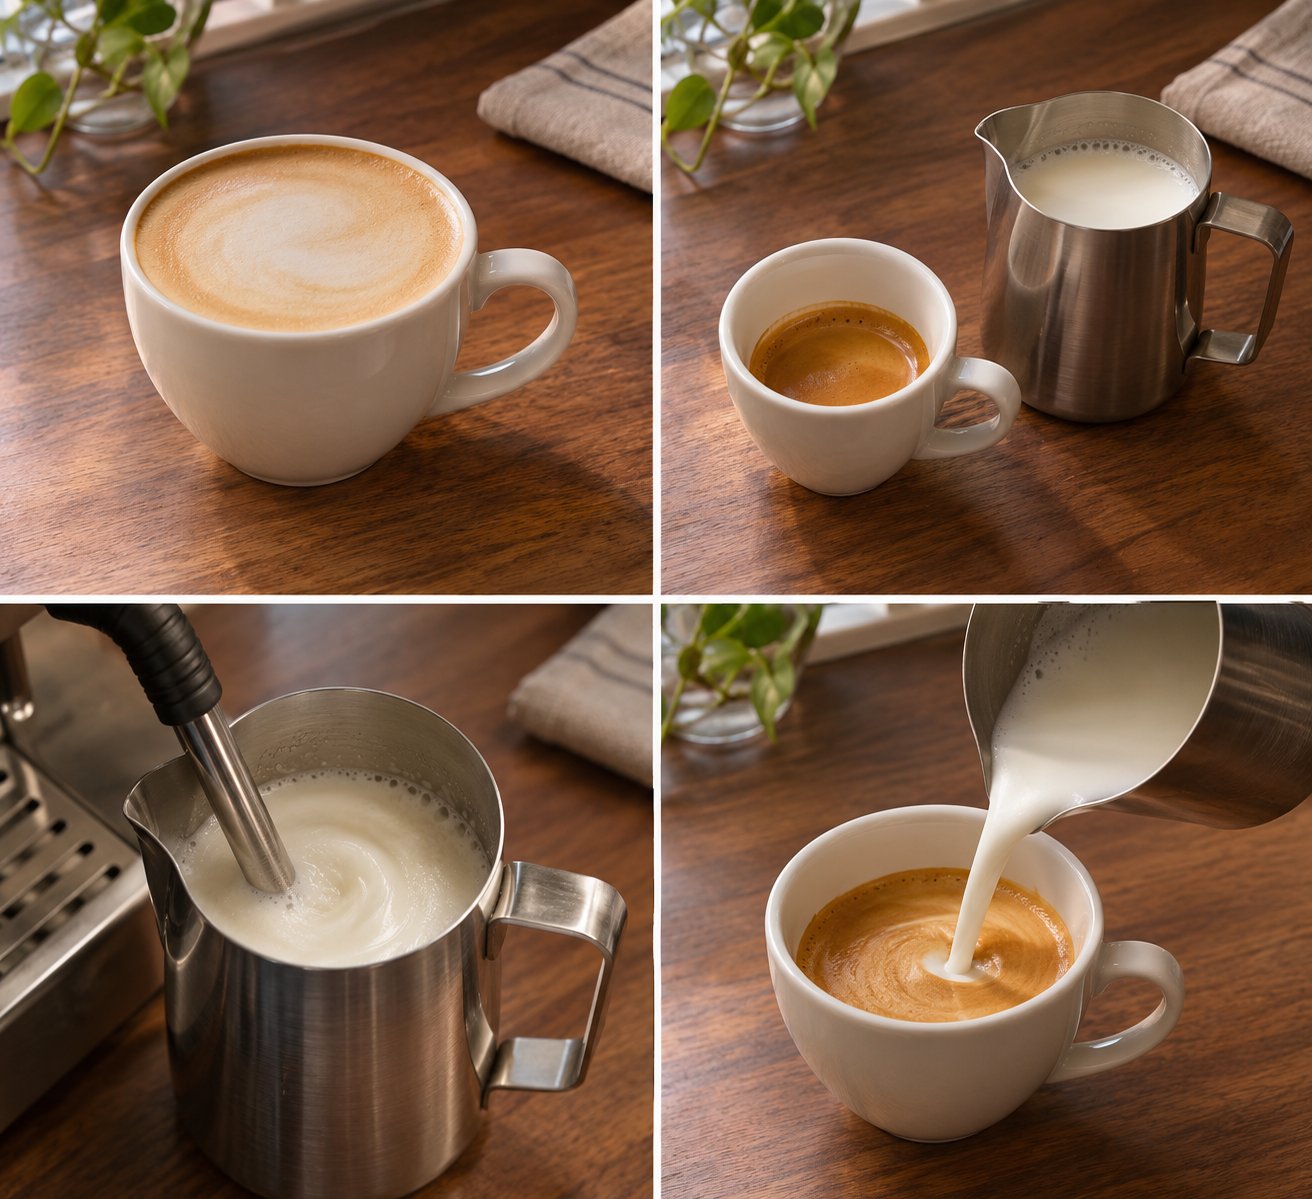
- Prepare about 36 g espresso using the base guide. Weigh 180 g refrigerated milk into a pitcher with room for expansion, and empty any preheating water from the serving cup.
- Purge condensation from the wand as directed by the machine maker. Position its tip near the milk surface and briefly introduce air for a fine, thin foam layer.
- Lower the tip slightly to establish controlled circulation. Use a thermometer and start around a 55–60°C stopping target, accounting for the machine's response; turn off steam before removing the pitcher.
- Clean the wand as instructed, gently swirl the pitcher and pour a small stream into the espresso before adding the remaining milk continuously.
What to adjust first
Large bubbles: reduce or reposition air introduction. Separated milk and foam: improve integration and reduce waiting. Milk overwhelms espresso: reduce milk on the next cup without changing the shot simultaneously.
Even texture comes before a visible design
A pattern does not repair a harsh shot or coarse foam. Taste espresso and milk separately when troubleshooting, then decide which preparation needs attention. A cup without a pattern can still be well integrated.
Try this comparison next time
Use the same espresso in two small cups with different milk amounts. Choose the concentration you prefer before fixing that milk quantity and practicing thin microfoam.
What to write down
Record espresso yield, initial milk weight, milk actually poured and stopping temperature. Milk left in the pitcher and foam expansion mean input weight is not a precise finished volume. Check allergens when substituting milk.
Keep learning
Espresso: a starting recipe · Cappuccino
Your notes for this cup
Record settings, flavour and one change for next time. Notes stay in this browser; they are not uploaded or synced. Clearing site data removes them.